This article will explain how to download and install Echo 360 Universal Capture (personal).
Universal capture is a cross-platform, simple capture application for recording educational videos. Universal capture is replacing the current personal capture application. Downloads of the current personal capture software will be disabled on 30th August 2019. Echo360 will stop supporting personal capture from January 2020. We recommend all staff using Echo360 personal capture move to the new universal capture application as soon as possible.
Downloading Echo360 Universal Capture
- Log on to the Echo360 Active Learning Platform.
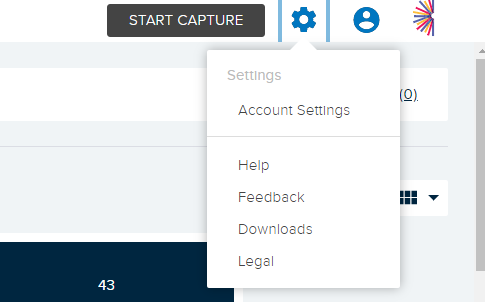
- To download Echo360 personal capture, click the gear icon. From the drop-down menu select Downloads.
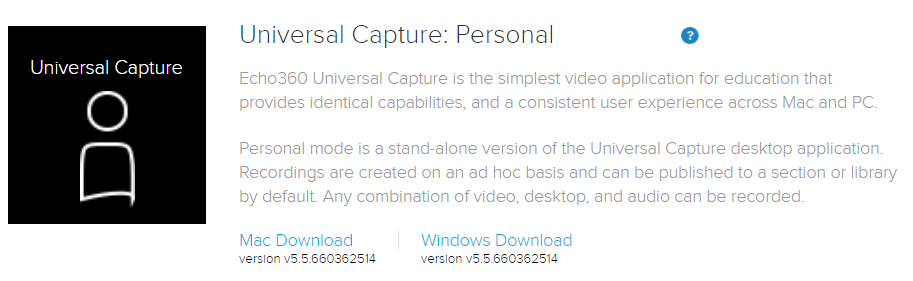
- On the Downloads page, locate Universal Capture: Personal, and select the installer for the type of operating system installed on your computer (Mac/Windows).
- Your web browser will ask you if you want to open the installer file. Select Run or Save File to get started with the installation process.
- Your computer will then ask where you would like to save the installation package. Select a location and click Save to continue.
- Open the Echo360 Capture Installer file on your computer, and then open the Install Echo360 Capture (personal) installation package.
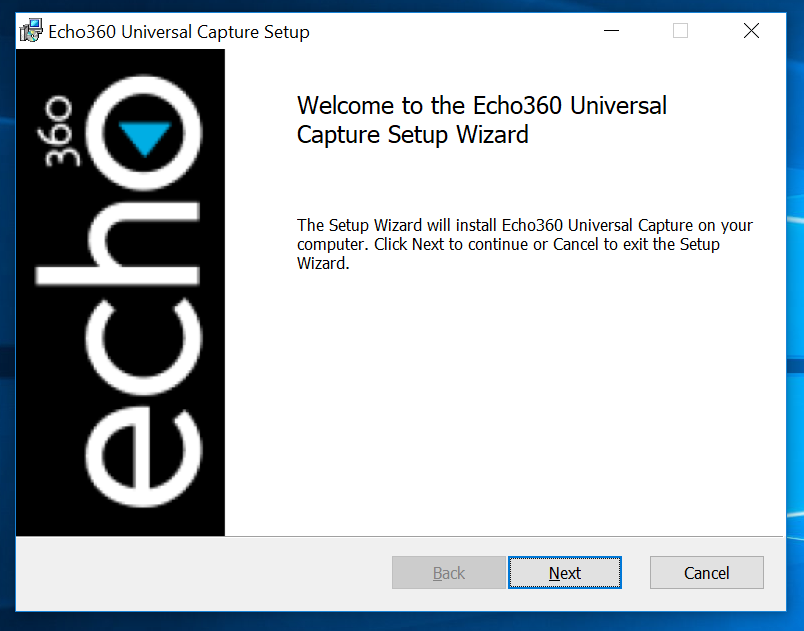
- The installation wizard will now be open on your Computer. Click Continue to begin the process and follow the prompts as presented.
- After completing the installation wizard, the software will be installed. You may now close the installation wizard and launch the Echo360 capture software.
Universal Capture Quick Start Guide
Echo360 universal capture allows users to capture video from both their webcam and desktop simultaneously. Prior to recording, you can select which video inputs you wish to use. The Echo360 Capture software does not have editing, or the ability to save offline copies.
- Open Echo360 Capture on your machine and click to login.

- You will be prompted to login at which point the default browser launches, requesting your email address (this should look like hy****@hyms.ac.uk). You will then be further prompted to log in with your username (this should look like hy****).
- Click SUBMIT and enter your password. Once logged in you’ll be taken back to the Echo360 capture. The graphic below explains the Echo360 capture interface.

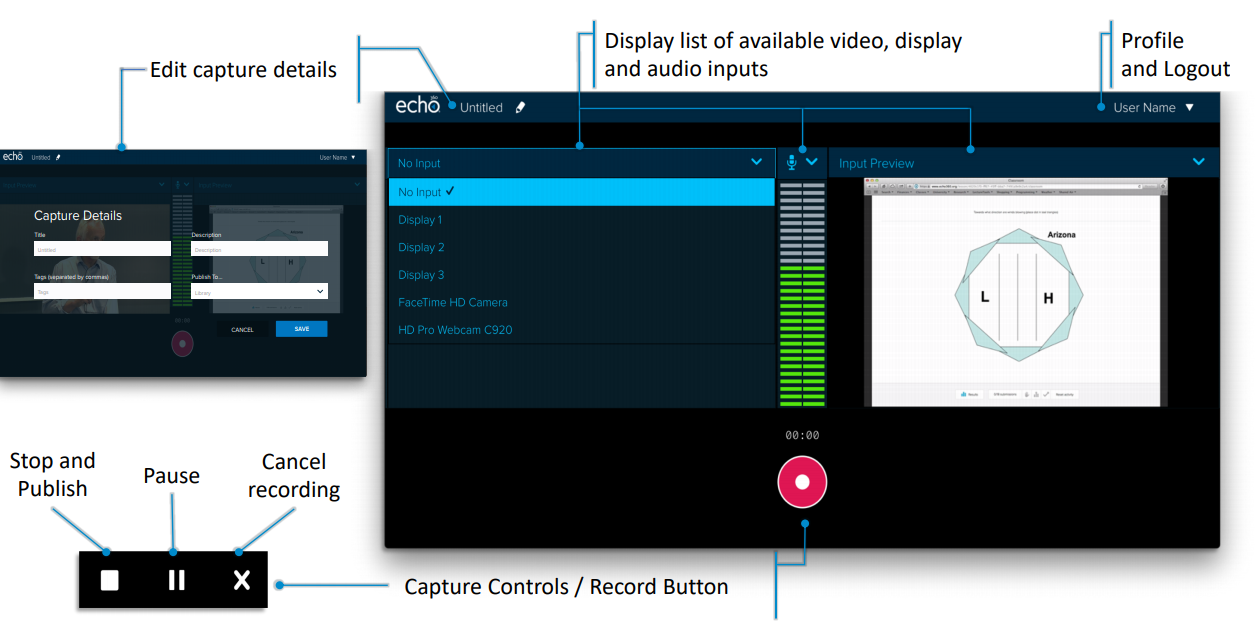
Universal Capture Create a Recording
- Select the inputs you want to capture. You can select to capture both the computer screen and any video inputs (such as a webcam).
- Preview the inputs on the screen, to be sure they will record properly. Make sure you have sufficient audio quality.

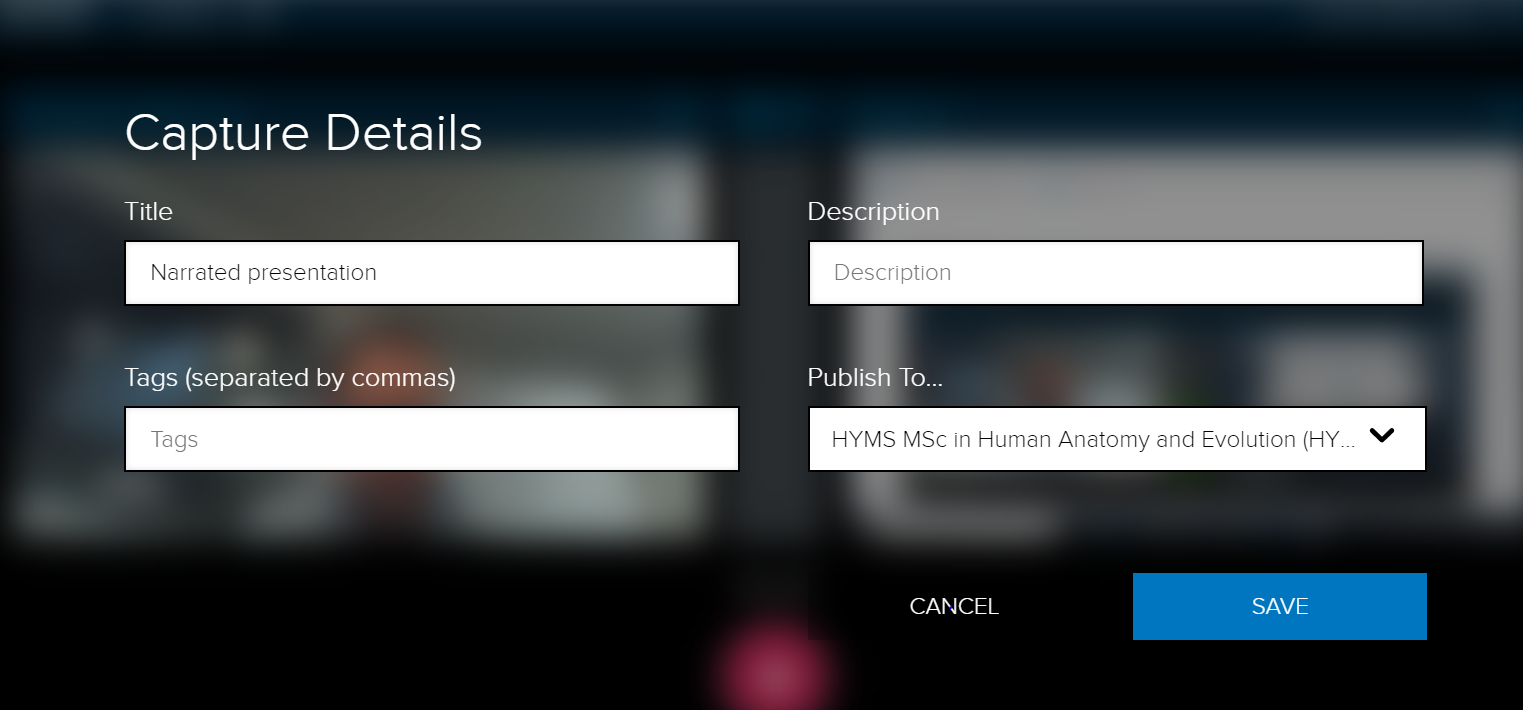
- Click the pencil icon (in the top left of the interface). This will open the Capture Details page where you can give your presentation a title and select which course you would like to publish the video to. You can also choose to publish to your own personal library if you are not yet ready to publish to a course. Click Save to confirm any changes. If you don’t, default information will be used.

- Click Record. A countdown (5 seconds) appears after which the Universal Capture window minimizes and the capture begins.
- When you have finished your recording, click Finish.