This guide will explain how to:
- Record a narrated presentation within a Microsoft Teams meeting (Part 1)
- Submit the recording (video) to a submission point in Blackboard (Part 2)
Part 1: Record a narrated presentation within a Microsoft Teams Meeting
You will be required to record your group presentation using Microsoft Teams. To do this, firstly you will need to schedule a Teams meeting for your group.
Creating a Microsoft Teams meeting
As a group you will need to decide when you will record the group presentation. Once you have a confirmed date and time, you will need to setup a Teams meeting and invite all group members.
To schedule a meeting in Teams, follow these simple steps:
- Select the Calendar icon from the Teams Navigation bar.
- Click on ‘New Meeting’ (top-right-hand corner).
- Add the meeting details (title, date, time, attendees). Make sure you add all the group participates with their HYMS email addresses.

- Click Send to schedule the meeting.
- This meeting will be added to both your Teams and Outlook calendar. A meeting invite will be sent to attendees which will include a link to Join the meeting.
Starting a Teams meeting
Once the meeting has been scheduled, the next step is to prepare your content and join the meeting to record your presentation.
- Open Microsoft Teams from a browser or the app. Please see further guidance on the following help page; accessing Microsoft Teams.
- Click on the meeting in your Teams calendar.
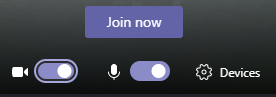 You will now see an option to Join now. Before you join, select devices to check that your preferred device settings are selected for audio and video input. Also check the audio icon indicates audio is on (a line through the icon means it is off).You can choose to turn off your video by double clicking on the video icon. This will mean your webcam will not show your image. If you leave your video on, your image will appear in the bottom right-hand corner during your recording. If you turn it off, it will show your initials or your saved profile picture.
 - Click on Join now when you are ready to start.
Present your content
After you have started the meeting, you will need to share (present) the content you wish to present (for example, PowerPoint slides).
To share your screen in a meeting, select Share content from the toolbar (at the top meeting window). Then, choose to present your entire screen, a window or a PowerPoint file. For further guidance on sharing your screen visit our Screen share in a Teams video meeting guide.
![]()
Start recording
Once you have shared your presentation and you are ready you can start recording. To do this, select more options > start recording from the call bar menu.
![]()
To stop recording, navigate back to the meeting tool bar and select stop recording.
Access and download a recording
Once you finished recording, you will need to download it for submission to Blackboard. You will receive a notification in the meeting chat that your recording is ready to download. Depending on the length of the meeting, it may take some time before it’s available.
Follow these steps to download the recording:
- Go to the Meeting Chat and locate the recording.
- Click the ellipsis icon (three dots) and from the menu select Open in Stream. From Stream, you should be able to download the recording.
- From Stream, again click the ellipsis icon. This should give the option the Download the recording. A video download pop-up will appear asking you to confirm the download.

- Click Download to complete the process. This will download the file to your Downloads folder.
Part 2: How to submit this recording (video) to a submission point in Blackboard
Once you have recorded your video presentation, you will be required to submit this to Blackboard. Follow these steps to upload your video to Blackboard.
Access the submission point
- To access Blackboard, click on the following link: https://blackboard.hyms.ac.uk
- Click the Sign in with Microsoft button and login with your HYMS username and password (authentication for Blackboard is via Microsoft365)
- From the Blackboard homepage, click Courses from the Ultra navigation menu on the left-hand-side.
 On the Courses page, search for and open the HYMS HPE: Assessment and Feedback 2023/24 course.
- The submission point will be available in the Assessment Folder > Summative Assessment. Click on the Assignment titled: Summative Group Online Presentation.

- After you select the assignment, the Details & Information panel appears. View information such as the due date, number of attempts allowed, the time limit if imposed, and any grading criteria / rubrics.

- Click on Start attempt. You will then be directed to the assignment submission page.
Submit an Assignment
- From the submission page, you can submit your assignment via the submission box.
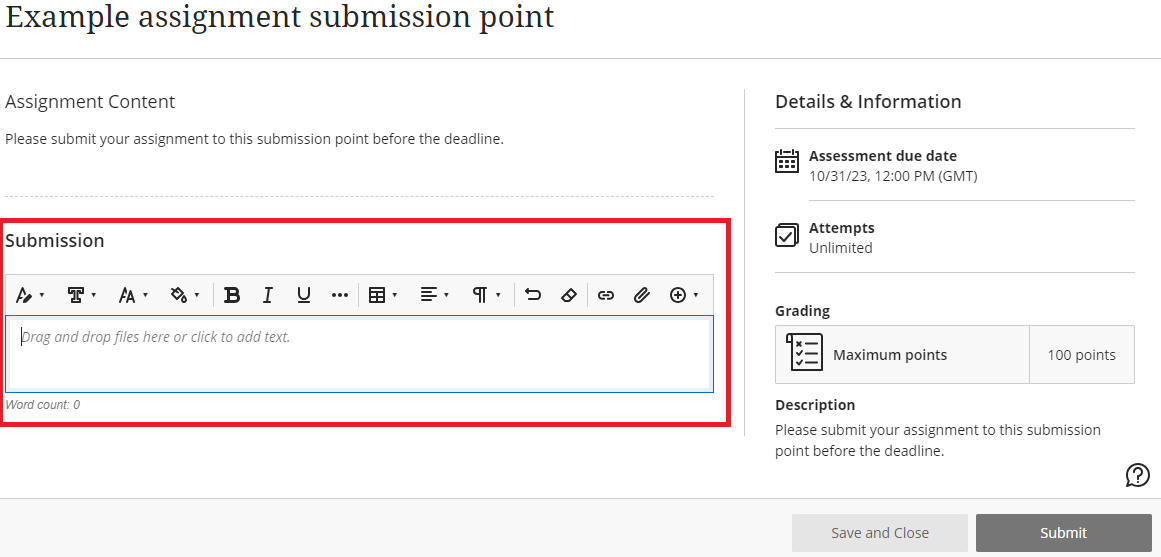
- Drag and drop the video from your computer directly into the submission box.

- Once you have uploaded the file, edit the File Options.

- Select Save. The video you have uploaded should display inline on the submission page.
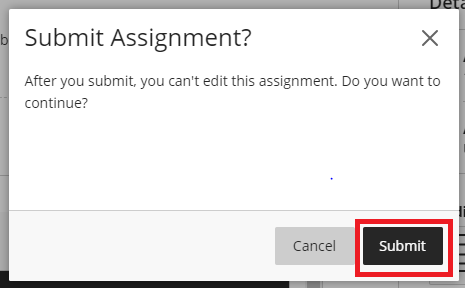
- When you are happy you have uploaded the correct video. Select to submit from the bottom right-hand corner.

- You will then be prompted to confirm your submission. Select submit again.
- You will then see a success message with a copy of your receipt which you can download as an additional record of submission.

Check the submission
- To check your submission, open the submission point. Then select the attempt submitted.
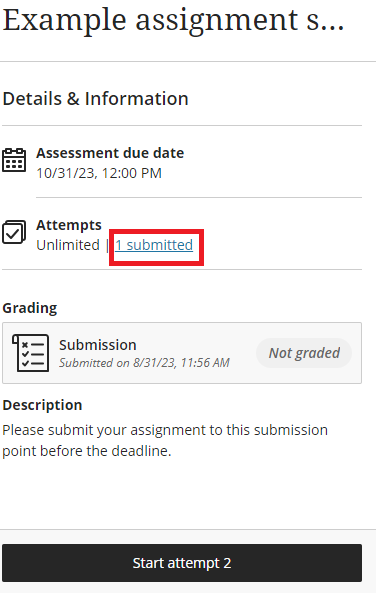
- Then select the Attempt (submission).

- In the Submission Content area, check the video loads and plays as expected.
- The Blackboard submission receipt is confirmation that you have successful submitted. However, it is not confirmation the submission displaying and loading correctly.
