Guide overview
This guide explains the procedure for migrating your personal files from your HYMS J:Drive to your HYMS OneDrive. Before carrying out this procedure we recommend doing some housekeeping on your J:Drive to delete any unwanted files prior to the move.
Sign into a University managed device with your HYMS account
In order to access your HYMS J:Drive you first need to log in to a University managed device with your HYMS IT account details.
Accessing your HYMS OneDrive
To migrate your files to OneDrive we would suggest first creating a folder in your OneDrive and then copying your files to that location:
- Log in to https://www.office.com/ with your HYMS IT account details.
- Once logged in, at the top of the page select the app launcher.
 Then select OneDrive.
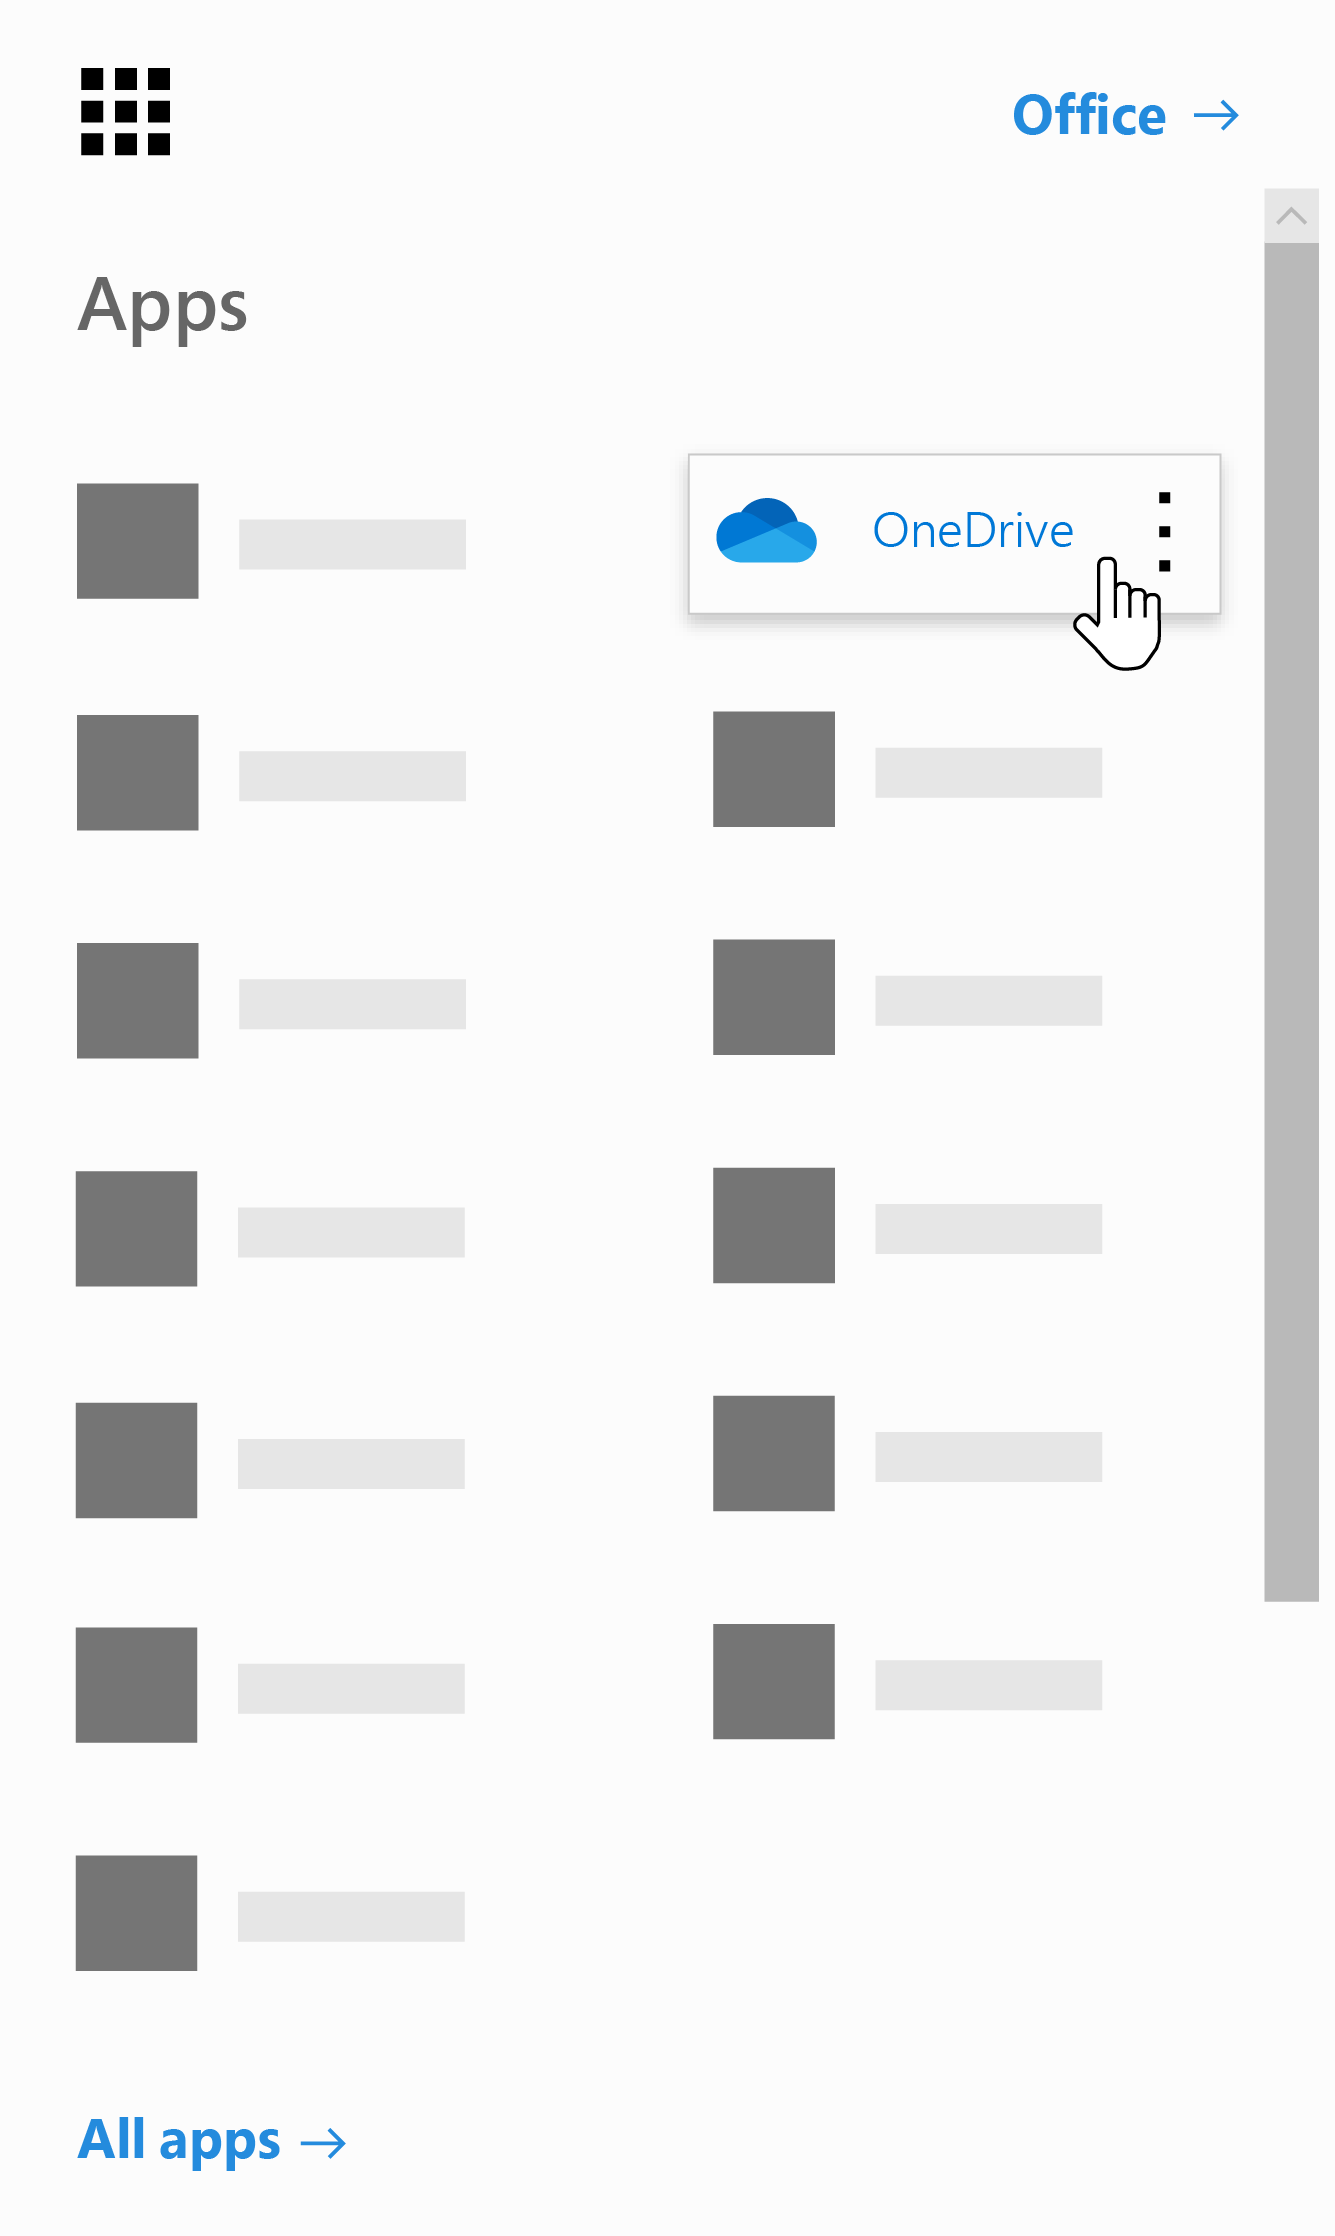
- Select “My Files” – Then click “Add New” – Select “New Folder” – Give the Folder an appropriate name.
Opening your J:Drive
- On the task bar click on the folder icon to open File explorer.
- In the left hand column select “This PC”.
- Your J:Drive will be displayed under “Network locations” as below.

- Open your J:Drive.
The majority of your files are likely to be stored in the “Documents”, “Desktop”, “Pictures” and “Videos” folder plus any folders you have created.
For any individual files create a folder and move these files there.
- Next – Either select the folders you wish to copy then drag them to the Folder you created previously in your OneDrive.

or to upload the files through OneDrive:
- In your OneDrive navigate to the the Folder you created previously.
- Select Add New – Select Folder Upload.

- Search your J:drive for the required folder and Click Upload.

If you have any issues migrating your files please contact help@hyms.ac.uk and we will be happy to help you.